DIY Guide: Replacing Mineral Fiber Ceiling Tiles Easily
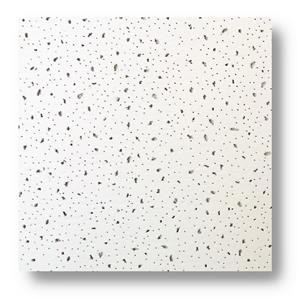
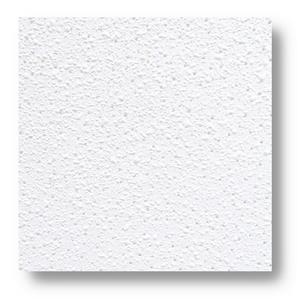
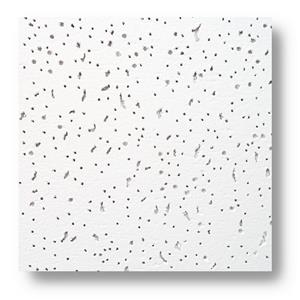
Mineral fiber ceiling tiles, due to prolonged use, may suffer from moisture, warping, damage or stains that affect their aesthetics and functionality. When these problems occur, you don't necessarily need a professional construction team; you can do-it-yourself (DIY) replacement of your ceiling tiles with new ones. This article will provide a detailed DIY replacement guide to help you get the job done quickly and efficiently.
Common reasons for replacing mineral fiber ceiling tiles
Water damage or mould growth (usually due to roof leaks or damp conditions)
Broken or warped tiles (due to uneven stress or ageing materials)
Yellowing of colour or stains that are difficult to clean (affecting overall aesthetics)
Tools and materials required
New mineral fiber ceiling tiles (ensure they are the same size as the original tiles)
Ladder (to ensure safe working)
Gloves and protective eyewear (to prevent dust or debris from getting into your eyes)
Hobby knife or ceiling tile cutting tool (for cutting the tiles)
Measuring tools (tape measure, pencil)
Adhesive or keel system (if needed)
Replacement Steps
1. Remove old tiles
Use a suction cup or small pry bar to gently remove damaged ceiling tiles.
If the bricks are stuck tightly, gently pry them away from the edges.
2. Clean the installation area
Remove dust and residual adhesive.
Inspect the ceiling framing (keel system) for damage or rust and repair if necessary.
3. Measure and cut new tiles
Use a tape measure to measure the size of the old bricks and mark the cut lines on the new bricks.
Cut with a hobby knife or chainsaw so that they fit perfectly in their original position.
4. Install the new bricks
For keel-supported structures, insert the bricks directly into the frame and make sure they fit securely.
For adhesive installation, apply the appropriate amount of adhesive to the back of the bricks and press to secure.
5. Conduct final inspection
Ensure that the new bricks are aligned with the old bricks and that there are no loose ends or gaps.
Clean up the construction site to remove excess dust and waste.
Frequently Asked Questions and Solutions
Q1: Unstable ceiling tiles
Possible cause: Insufficient adhesive.
Solution: Add more adhesive or adjust the installation method
Q2: Inconsistency in colour between old and new tiles
Possible cause: old tiles are discoloured due to aging
Solution: Replace them all and keep the colour uniform
Q3: Brick size is not suitable
Possible reasons: Measuring error
Solution: Re-measure and cut
Maintenance and care suggestions
Regular cleaning: Use a dry cloth or hoover to remove dust and avoid stains from being deposited.
Maintain ventilation: Reduce moisture to prevent mould or deformation of the ceiling.
Regular inspection: Replace any damage promptly to maintain the overall aesthetic appearance.
Do-it-yourself replacement of mineral fiber ceiling tiles is an easy and money-saving way to complete a quality installation by simply following the right steps. With regular maintenance, you can ensure the longevity of your ceiling tiles and keep your interior space looking neat and beautiful.


